Welcome!


Multi-Nozzle Rain Test Chamber with Automatic Water Circulation
 Share
Share


Product Description
STANDARD FEATURES
| Item | Specification |
| Internal dimension | (W*D*H)1000*1000*1000mm |
| External dimension | (W*D*H)1300*1100*1700mm |
| Oscillating tube | Radius 400mm |
| Oscillating angle | IPX3: spray ±60° from vertical line to each side, total 120°IPX4: spray ±180° from vertical line to each side, total 360° |
| Oscillating speed | IPX3: 2*120° for 4sIPX4: 2*360° for 12s |
| Spray nozzle | Diameter: 0.4mm, removableEnsure the water sprays in a line and without tolerance |
| Distance between two nozzles | 50mm |
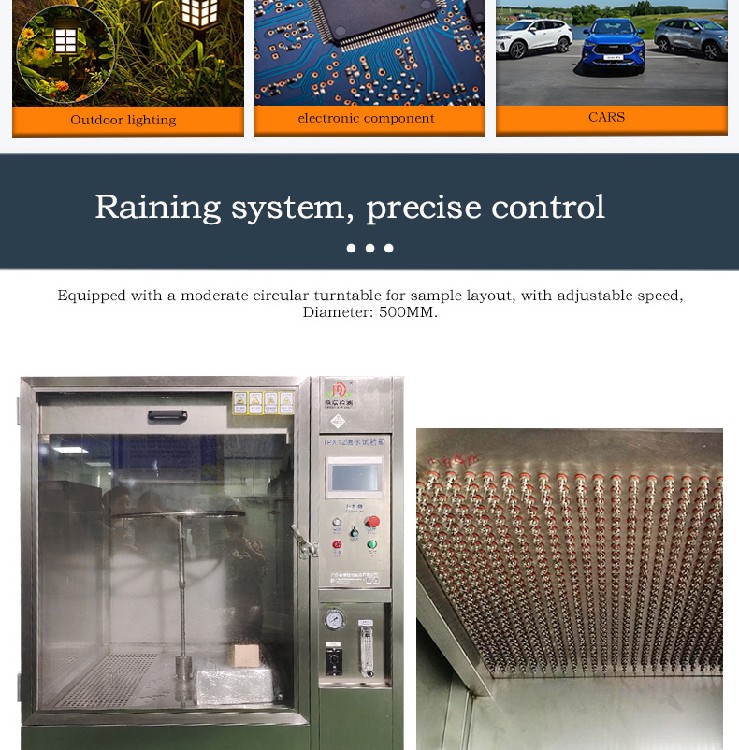
| Turntable dimension | 500mm |
| Turntable rotation speed | 1-3 cycles/min |
| Water flow of each nozzle | 0.07 L/min +5% |
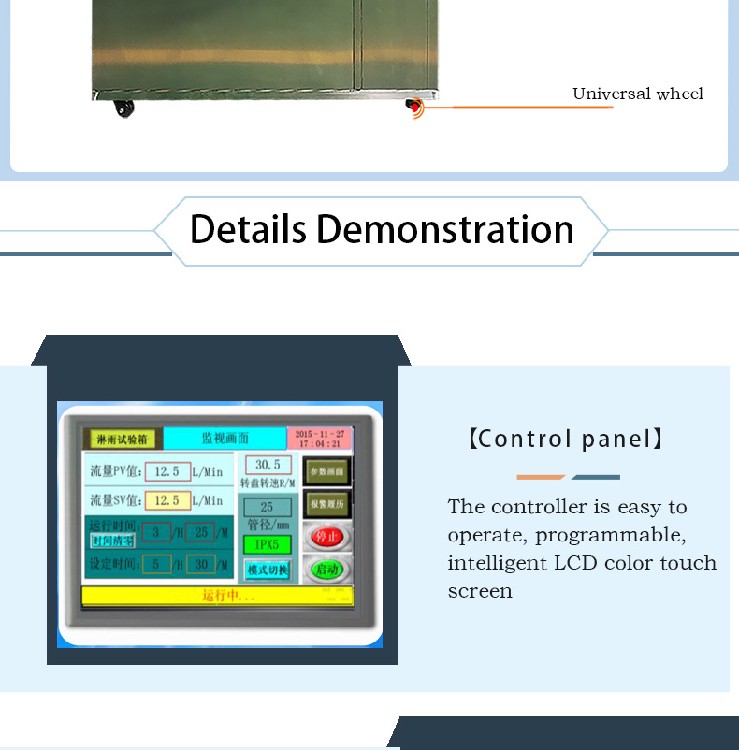
| Test duration | 1~999,999min, adjustable |
| Pressure gauge | 80-150Kpa |
| Material | Chamber - Stainless steel ; Spray nozzle - Brass |
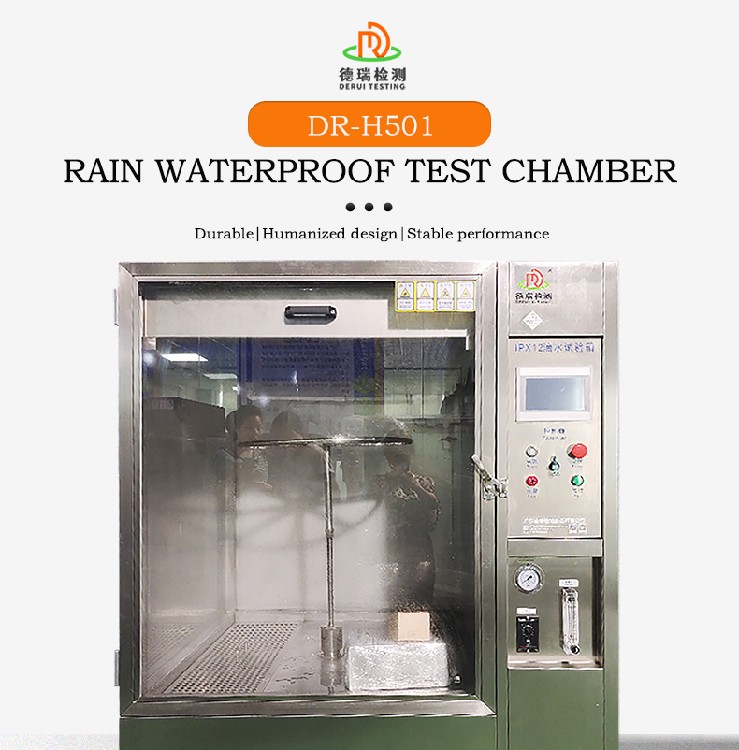

A rainfall tester is a device used to simulate natural rainfall environment to test the weather resistance and waterproof performance of products under different rainfall conditions. Certain steps and precautions need to be followed when installing a rainfall tester to ensure its proper operation and safety. The following is a general installation guide for the rainfall tester:
1. Confirm site preparation
Space Requirements: Ensure that the installation site has enough space to accommodate the tester and leave enough room for operation.
Ground Requirements: The ground should be level, firm and able to support the weight of the test chamber. Avoid installing the equipment on unstable surfaces.
Drainage facilities: Considering that a large amount of water will be generated during the test, ensure that there is a good drainage system nearby.
2. Check equipment integrity
Before installation, check that the equipment is intact and complete with accessories. If there are any damaged or missing parts, please contact the supplier promptly.
3. Selection of installation location
Avoid placing the Drenching Tester in a place exposed to direct sunlight, as well as away from heat and vibration sources.
Ensure that there are no flammable or explosive materials around.
4. Connecting the power supply
Connect the power supply correctly according to the power requirements of the equipment. Be sure to have a professional electrician make the electrical connections to ensure compliance with local electrical safety standards.
5. Connect the water supply
If the appliance requires an external water supply, ensure that it is connected to a clean water source and set the appropriate water pressure according to the manufacturer's instructions.
6. Installation of an exhaust device
If the equipment is equipped with an exhaust device, it should be installed correctly according to the instruction manual to ensure that the moisture can be effectively discharged during the experiment.
7. Commissioning and Inspection
After the installation of the equipment, carry out the necessary commissioning work, including but not limited to the adjustment of water flow, nozzle angle, temperature control and other parameters.
Carry out functional tests to ensure that all components can operate normally.
Precautions:
Strictly follow the instructions provided by the manufacturer throughout the installation process.
If unsure about certain steps, it is recommended to consult a professional or contact the manufacturer's technical support.
Please note that different drench test chambers may have different specific requirements, so it is very important to carefully read the specific installation instructions provided by the manufacturer before installation.
Recommended Products

 Industrial Grade WG3028 High Speed 8-Channel OPM InGaAs Detector OptionalNegotiable1 unit(Min.Order)Contact Supplier
 Desktop 4-Channel Optical Power Meter WG3024 Stable Performance for Transceiver Production TestNegotiable1 unit(Min.Order)Contact Supplier
 Vertical Combustion Tester, Providing Reliable Testing Results for Research and Development$1700 - $1700 / unit0 unit(Min.Order)Contact Supplier
 Building Material Vertical Combustion Tester, Ensuring Fire Safety$1800 - $1800 / unit1 unit(Min.Order)Contact Supplier

Recently Viewed
- Building Material Vertical Combustion Tester, Ensuring Fire Safety
- Vertical Combustion Tester, Features Automatic Data Recording and Analysis
- Desktop 4-Channel Optical Power Meter WG3024 Stable Performance for Transceiver Production Test
- Industrial Grade WG3028 High Speed 8-Channel OPM InGaAs Detector Optional
- Vertical Combustion Tester, Providing Reliable Testing Results for Research and Development
Contact Us
Guangdong Derui Testing Equipment Co., Ltd.